Classic version Installation!
This App use Recoil state manager, if you dont know what is this or how it's work, see the Recoil Section before!
Tutorial Intro
(this page is for the classic version installation, for the PWA version go to PWA section tutorial
Let's discover React Ultimate Messenger in less than 5 minutes.
PWA RUM & Classic RUM version's#

Online Demo sites#
You can try Classic React Ultimate Messenger here ,
(The demo is not fully functional without the server started locally*)
Getting Started#
Get started by creating a new React App.
You have two options:#
The first option is the auto-installation script, simple & fast.#
You can use my bash script, this is a more fast & easy way to doing that!
Download autoInstall script here
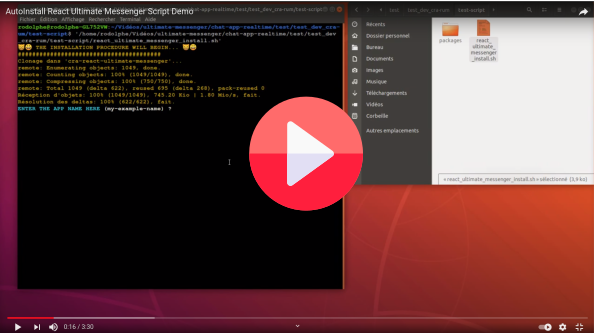
Here is a short video demonstration of how to use the script.
The second option is to generate a new React App through the create-react-app tool manually.#
Generate a classic React template with integrated chat from npx command:
create a folder, go to it and open your terminal from this folder of course,
For the moment there is one line of code to do before the creation of the React App...
git clone https://github.com/rodolphe37/cra-react-ultimate-messenger.gitAfter that, you can do the npx command which allows to install a classic React, but with the template option.
npx create-react-app my-app --template file:../path/to/your/template/folder/you/just/cloned/cra-react-ultimate-messengerStart your site#
Run the development server:
go to your folder app
cd my-appIf you have nvm installed:
the chat application requires at least version 12 of Node.js, the nvmrc file is initialized with version 14.15.1. If you have version 12 or higher everything will work fine! Otherwise you can change your Node version by simply doing:
nvm use
At this stage, you have two lines of code to do:
- I made several scripts in the package.json so that everything is automatic!
The first line is for initializing all servers
npm run initAll
- This script will first install the necessary node_modules in the messages-images server, then create an images folder (in which the images sent in the chat will be sent), then rename the .env.example file to .env.
- Then he will install the node_modules in the video chat server and rename the .env.example file to .env (for pwa version).
- And finally, he will rename the .env.local.example file to .env.local in the React frontend folder.
And the second line is to start all the services.
npm run devWith this single line of code you will start
- the server that manages the chat (messages and images) on port 4000,
- the video chat (which can be optional, that's why it's separate) on port 4001 (for pwa version),
- as well as the classic React frontend on the classic port 3000.
Your site starts at http://localhost:3000.
How to test your local version with the online version!#
- At this level of the tutorial, you have your backend server(s) and your site started and open at the classic address. You just have to open in another browser window the demo that corresponds to the version you just installed (link available at the top of the page). Then you just have to connect to the same room in both windows and start testing your version.
The left window is the online (prod) version - The right window is your local (dev) version.

- Enjoy!
To work with this version#
Open your App folder with your usual editor and start making your React App as usual!